
The Larapinta Trail stretches 230 kms through the heart of Australia’s Red Centre and is a bucket list hike for hikers worldwide. Whether you’re hiking a section or the whole trail, having the right gear is essential for a safe and enjoyable experience. This checklist will help you pack smart and be prepared for the rugged terrain, extreme weather and scenery. If you want a structured adventure, a Larapinta Trail tour may be a good option for guided exploration.
Hiking the Larapinta Trail requires a lot of prep including understanding water sources, campsite water availability and hydration strategy. You’ll need to carry extra water and have a water filter to purify water from billabongs and other natural sources. A collapsible water bottle or hydration bladder is highly recommended to manage your fluid intake.
Contents
Hiking Gear Checklist
1. Backpack & Storage
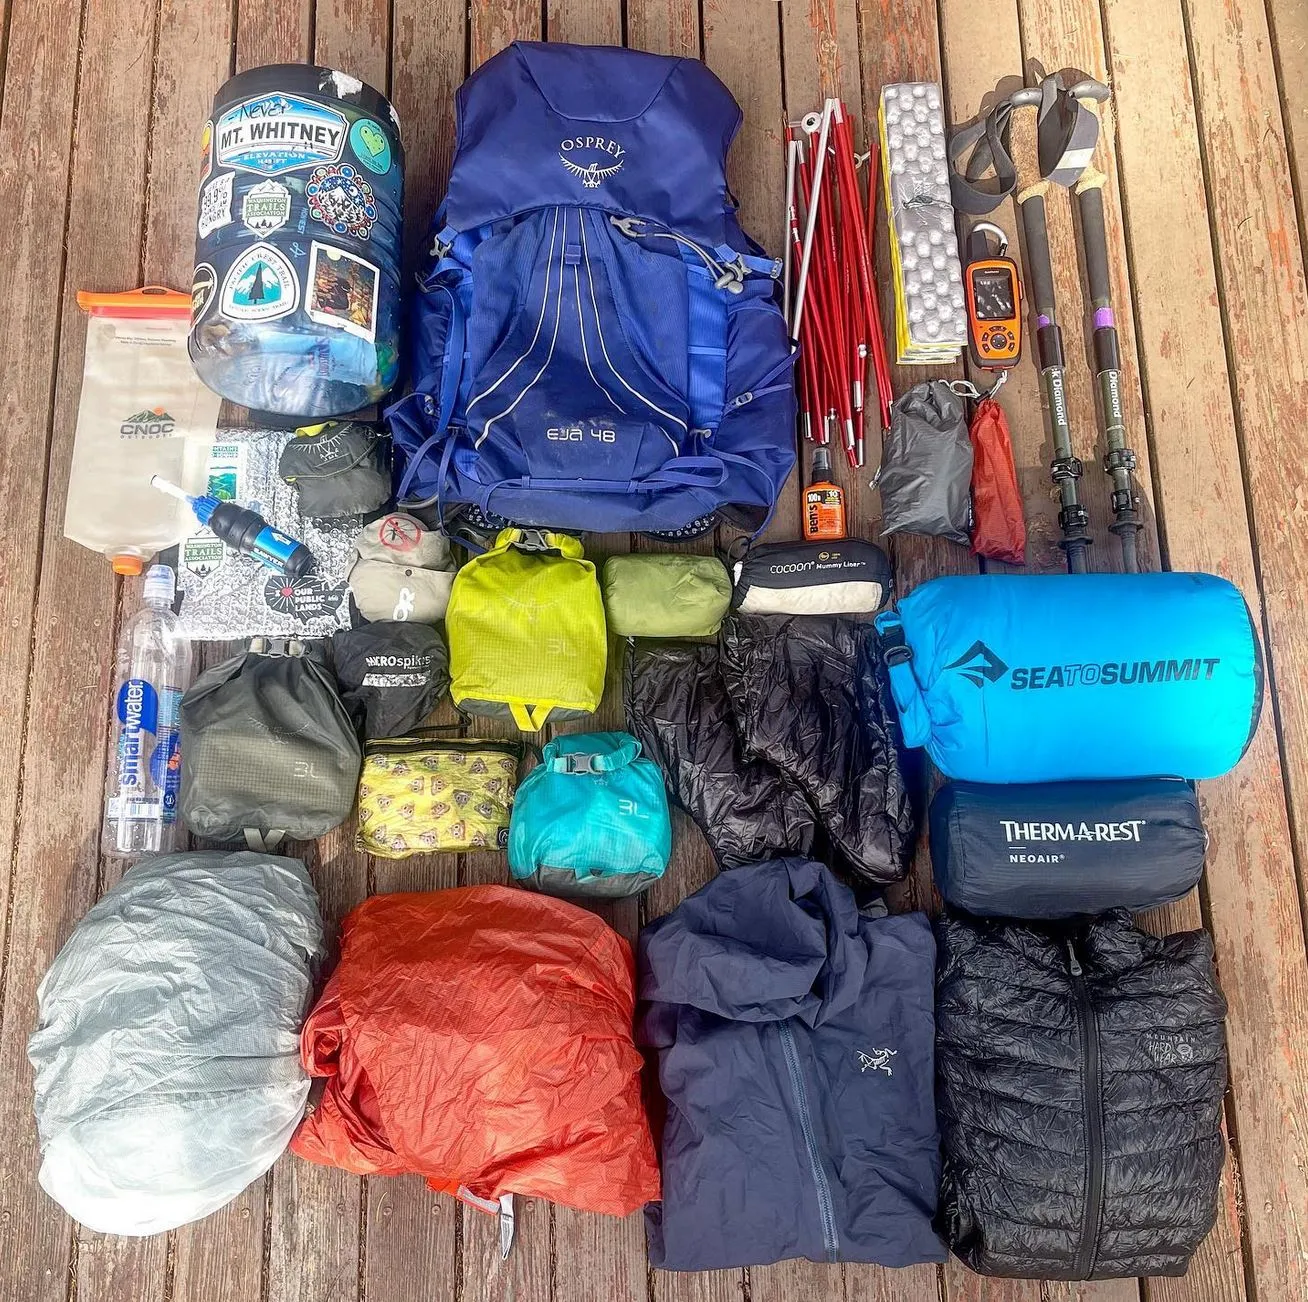
- Backpack (50-70L) – A well-fitted, supportive pack with a strong frame and proper weight distribution.
- Daypack (15-30L) – If you’re doing shorter sections or need an extra pack for side hikes.
- Dry bags – To keep electronics, food and clothes dry in case of rain.
- Waterproof cover – Essential to protect your backpack in wet conditions.
- Packing list – So you don’t forget to pack essential gear.
- Extra weight considerations – Don’t carry unnecessary items to keep your pack light.
2. Clothing & Footwear

- Hiking boots or trail shoes – Durable, well broken in and suitable for rocky terrain. If you have wide feet, choose shoes that fit your foot shape.
- Lightweight trekking pants & shorts – Quick dry and breathable fabric.
- Moisture-wicking shirts – Long and short-sleeved for layering.
- Warm jacket (down or synthetic) – Nights in the Outback can be cold.
- Insulated jacket – Provides instant warmth on cold nights.
- Thermal base layers – For colder weather conditions.
- Rain jacket & rain pants – Waterproof and windproof for unexpected weather changes.
- Reliable wind jacket – Protection from cold desert wind.
- Merino wool layers – Superior warmth and moisture-wicking properties.
- Socks (wool or synthetic) – Multiple pairs to keep feet dry and prevent blisters.
- Merino hiking socks – For optimal foot health on long hikes.* Gaiters or standard gaiters – To keep dust, sand and rocks out.
- Camp clothes – For comfort at camp.
- Outer layer – For insulation in desert climates.
3. Hydration & Water Treatment
- Water bottles (3-4L) – Enough for long sections.
- Refillable water bottles – Reduce waste and keep your hydration strategy sustainable.
- Collapsible water bottle – Saves space in your pack.
- Hydration bladder (2-3L) – For sipping on the go.
- Water tank & water sources – Plan for campsite water availability.
- Water from billabongs – Requires treatment before drinking.
- Water filter or purification tablets – To drink from natural sources.
- Water treatment – To purify non-potable water.
- Extra water – Carry extra litres of water for dry sections.
- Hot water bottle – For warmth at night in cold desert climate.
- Electrolyte tablets or powder – To replenish minerals lost through sweat.
- Fluid intake monitoring – Prevent dehydration on long hikes.

- Topographic map & compass – Even if using GPS, a backup is always good.
- GPS device or smartphone with offline maps – Extra navigation.
- Personal Locator Beacon (PLB) or satellite communicator – For remote emergencies.
- Headlamp & spare batteries – For early morning or nighttime hiking.
- Power bank – To keep your phone charged and battery levels high.
- Whistle & signal mirror – For emergency signaling.
- Emergency contact person – Always tell someone of your hiking plans.
- Guide on trail health – A guide to safety and well-being on multi-day hikes.
5. Sleeping & Shelter
- Tent (lightweight and durable) – Weather-proof and suitable for rough terrain.
- Tent poles & tent repair kit – For emergency repairs.
- Tent wall – Extra insulation in cold conditions.
- Sleeping bag (0-10°C) – It gets cold at night.
- Sleeping mat – For insulation and comfort.
- Compact pillow – Or use a stuff sack filled with clothes.
- Camping fee awareness – Some areas require payment for overnight stays.
6. Cooking & Nutrition
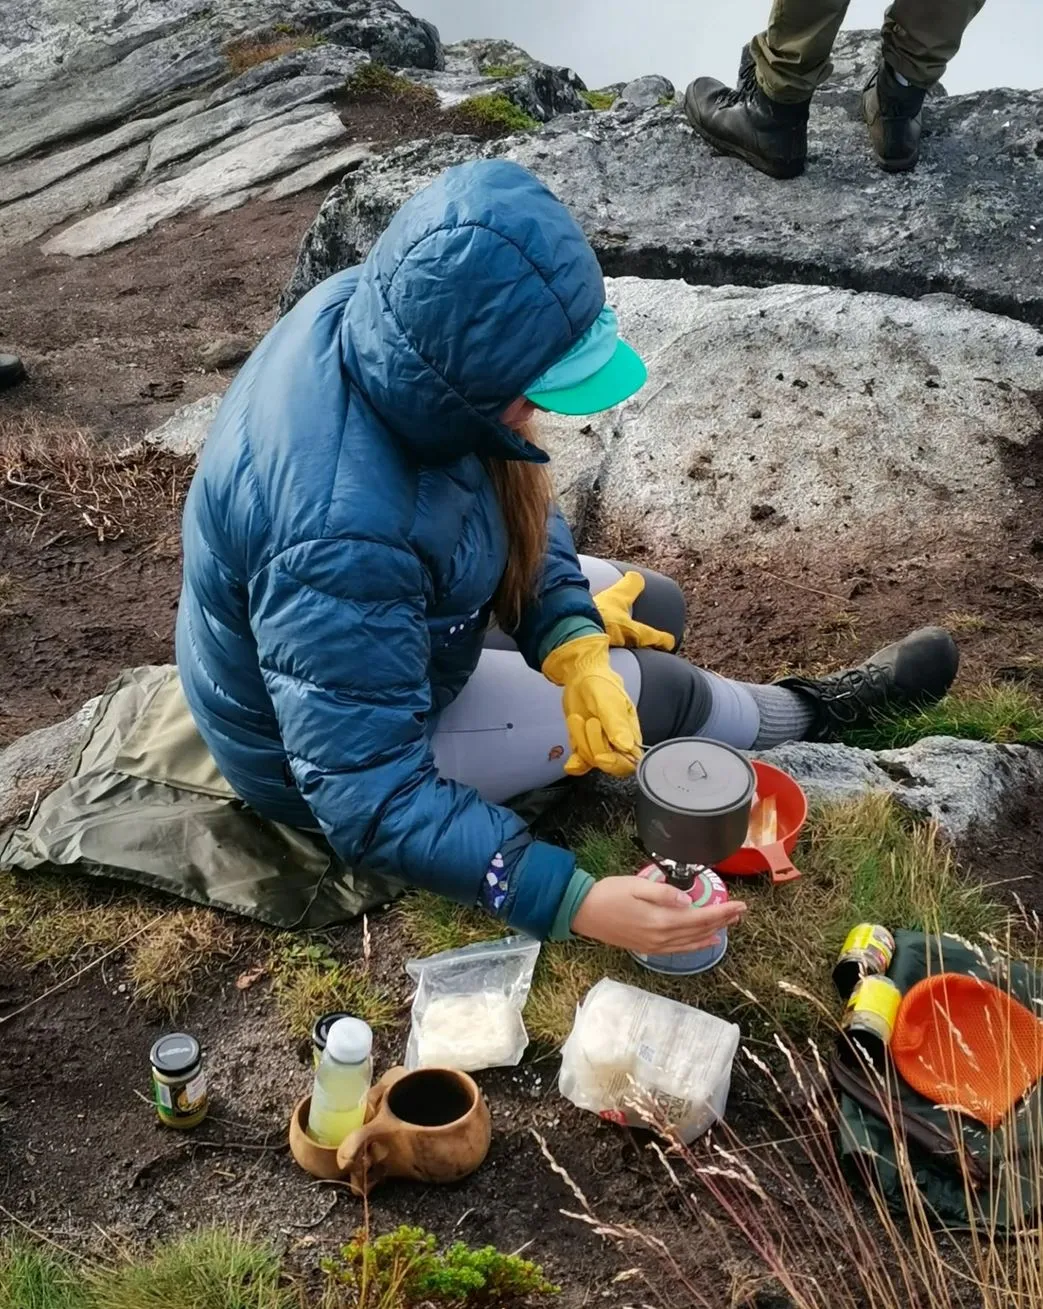
- Lightweight stove & fuel – A reliable system for meals.
- Cooking pot, utensils & mug – Compact and easy to clean.
- Food drops & food boxes – Plan ahead to restock on the trail.
- Spork or multi-use utensil – Saves space and weight.
- Bear-proof or rodent-proof food storage – Depending on the area.
- Food purchases – Plan for availability before you start.
- Food at night – Store food securely to prevent animals.
7. First Aid & Personal Items
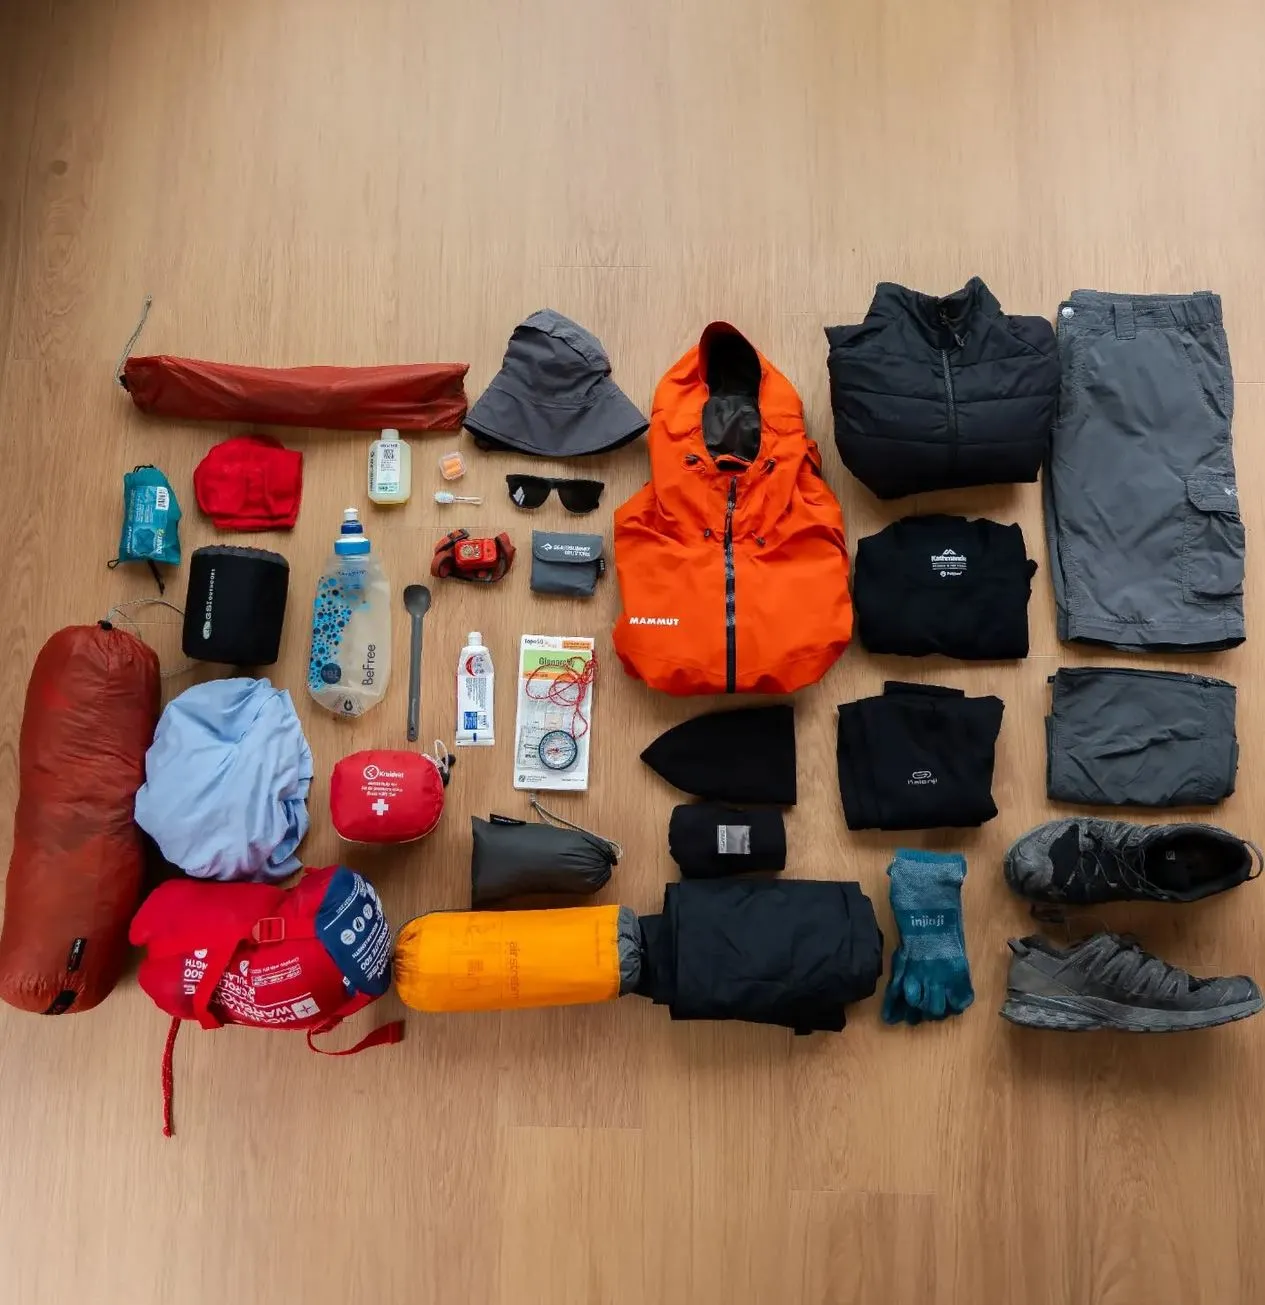
- Full first aid kit – With bandages, blister care and meds.
- Toilet kit (trowel, toilet paper, wet wipes, hand sanitizer) – Follow Leave No Trace principles.
- Toilet facility & human waste disposal – Know how to handle solid waste.
- Trekking poles or hiking poles – For stability and joint relief.
- Notebook & pen – For journaling.
- Female hikers – Additional considerations for hygiene and comfort.
Now you’re all set to tackle the beautiful Larapinta Trail safely and with confidence. Happy hiking!
FAQ
How hard is the Larapinta Trail?
The trail is varied; some bits are moderate, and some are very challenging. Steep climbs, rocky tracks and remote conditions. Good preparation and endurance training are recommended. If unsure about the terrain, consider joining a Larapinta Trail tour and hiking with experienced guides.
When is the best time to hike the Larapinta Trail?
The best time to hike is May to August when the weather is cooler and more manageable. Peak season is busy so plan accordingly.
Are there water sources along the trail?
Yes, but it is limited and unreliable. Hikers must plan and carry enough water and use purification methods when collecting from natural sources. Campground water supplies should not be assumed to be reliable.
Can I hike the Larapinta Trail alone?
Yes, but must carry a Personal Locator Beacon (PLB) for emergencies, tell someone of your itinerary and be experienced in remote hiking.
Do I need a permit to hike the Larapinta Trail?
No permit is required for independent hikers, but if you plan to camp in certain areas, there may be a camping fee. Guided tours may have additional regulations.


